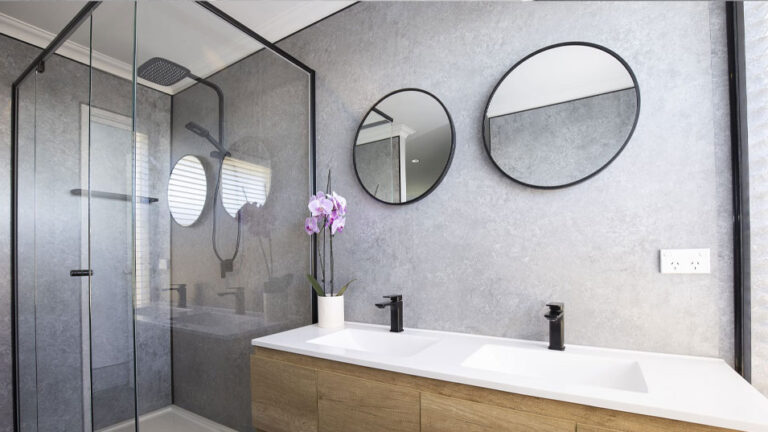
The Art of Shower Walling: Tips for a Stunning, Leak-Free Design
As a bathroom renovation enthusiast, you know that shower walling is one of the most important aspects of designing your dream bathroom. You want to ensure that your shower walls are both stunning and leak-free, but with so many options available, it can be difficult to know where to start.
At Wet Wall Works, we understand the importance of creating beautiful bathrooms without compromising quality or performance. That’s why we offer our range of waterproof and low-maintenance shower wall panels, designed for easy installation and backed by a 10-year warranty! But before you make a purchase, it’s important to know the tips and tricks for successful shower walling installation. It really is just as easy, if not easier, than installing a shower screen!
So today, we take a look at the art of shower walling and explore tips for achieving a stunning and leak-free design, from selecting the right materials to proper installation and maintenance.
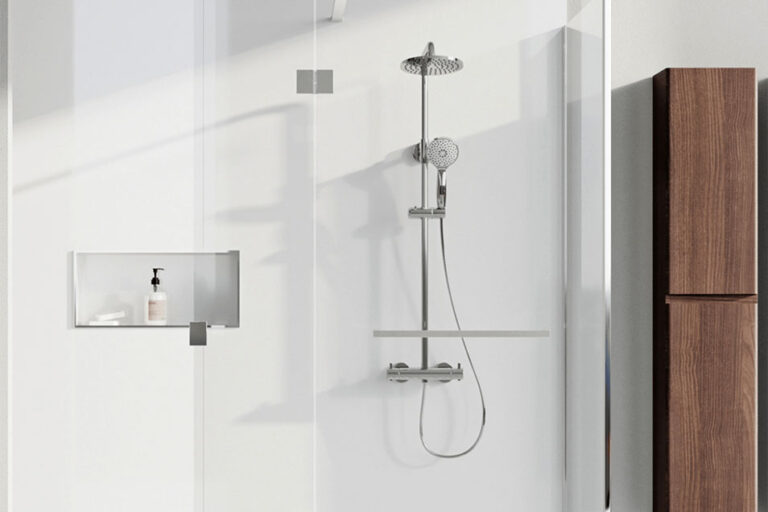
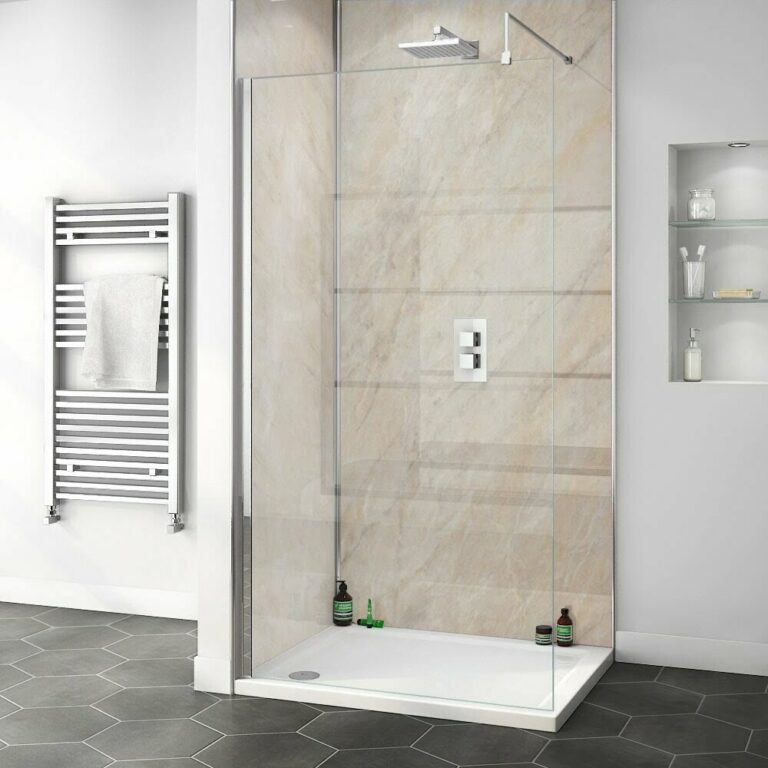
Preparing the Shower Area for Wet Wall Works Shower Walling
Before installing our shower wall panels, it’s crucial to prepare the shower area and ensure it is level. This includes removing existing tiles or fixtures, checking for water leakage points, and repairing damaged walls or surfaces. If removing existing tiles seems daunting, the good news is that with our show wall panels, you don’t have to! They can be fixed on top of existing tiles for quick and effortless installation.
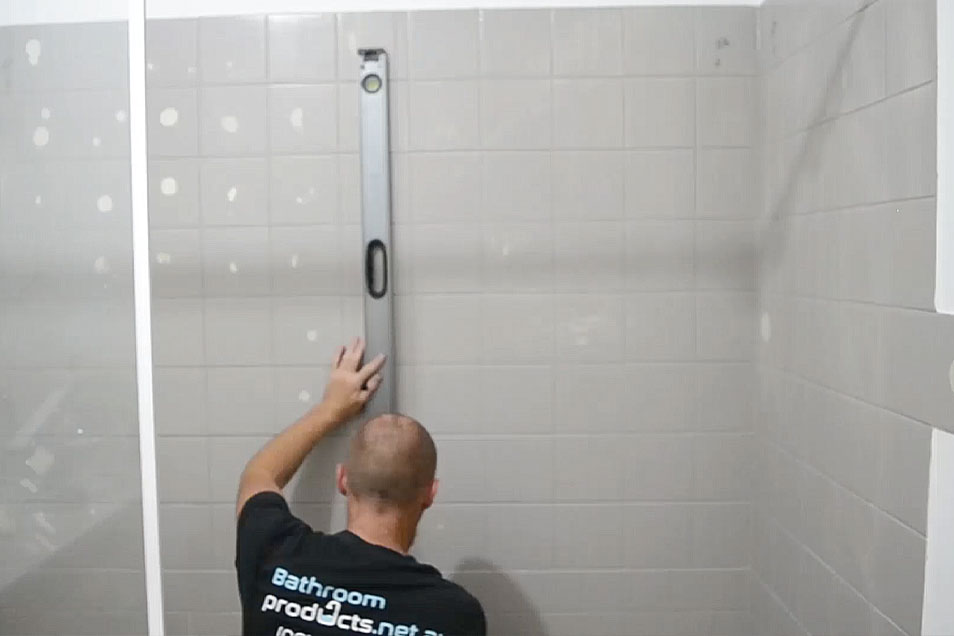
If you’re installing the panels on an uneven surface, use a level to check for deviations in straightness and use shims to adjust any uneven surfaces. It’s also important to check for water leakage points and ensure that your shower area is sealed properly with silicone sealant.
Tips for Installing the Shower Walls
Once the shower area has been prepped, it’s time to install our PVC shower wall panels. Before you do, though, take note of the following tips to ensure a successful installation:
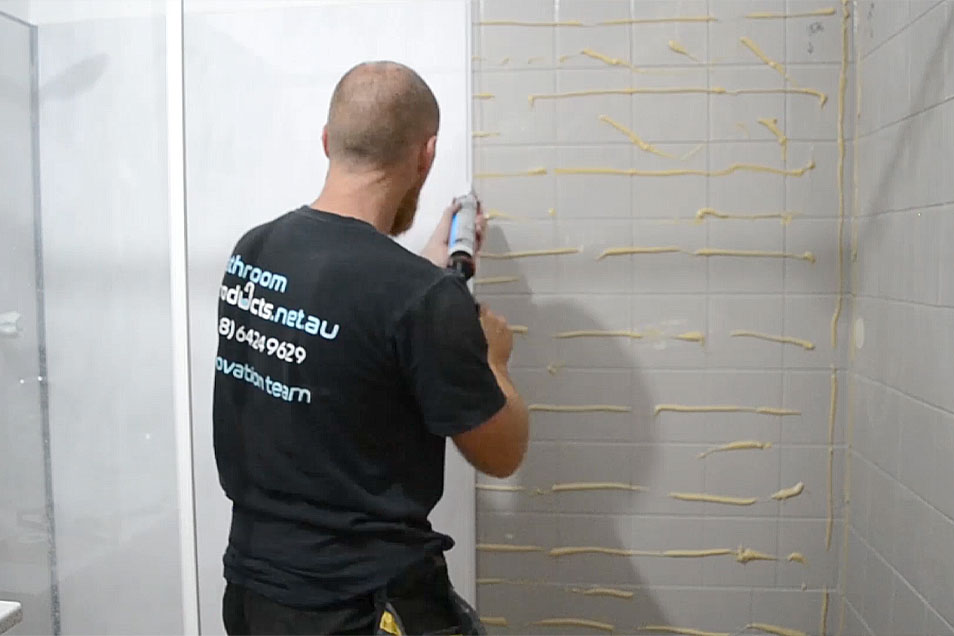
- When slathering adhesive on the back of a wet wall panel, go for a thick bead on the perimeter, then zig-zag down the middle. Wet Wall Works suggests using 1/5 tube of adhesive per full wet wall panel.
- To make it easier to apply adhesive and sealant, cut the nozzle of the panel adhesive or silicone tube at an angle. The higher up the nozzle is snipped, the wider the diameter of the bead that’ll be applied.
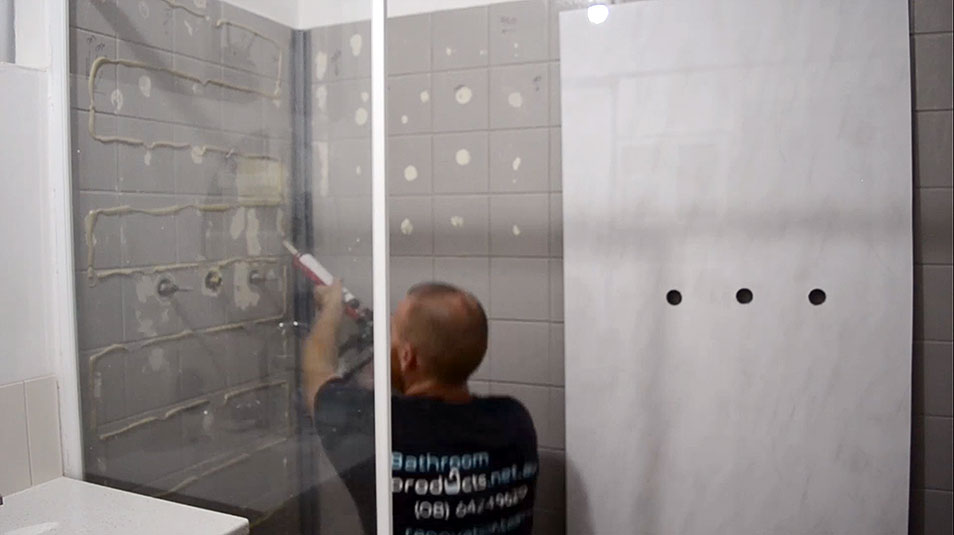
- Don’t forget to leave a 3–4mm gap between the bottom of the shower walling and the top of the shower tray or bath when installing. This can be done using packers, then sealed with Wet Wall Works Silicone Sealant.
- When dealing with apertures and cut-outs in the wall panel, allow for a 2-3mm clearance gap around pipes and fittings. Fill any gaps with Wet Wall Works Silicone Sealant.
- For fittings like shower attachments, screens, and towel rails, you can fix them right onto the shower walling with the right fixings. Remember that items need solid fixing points behind the panels to stay secure.
- Keep your shower wall panels away from direct sunlight and avoid abrasive materials or bleach-based cleaning fluids. Stick to mild detergent and warm water with a soft microfiber cloth when it’s time to spruce them up.
Installing Our Shower Walling
Now that we’ve gone over some tips for installing our shower walling, let’s jump into the actual process! Simply follow these steps to get going:
- Measure, mark, and cut the internal corner trim to the desired panel height.
- Apply adhesive to the outer edges of the internal corner trim, position it on the wall, and apply pressure for a firm fixing.
- Measure the top, middle, and bottom of the wall and transfer those measurements to the panel. Use a pencil and spirit level to draw a line down the non-decorative face of the panel.
- Cut through the panel, following the marked line, with a fine-tooth saw.
- Cut off the tongue or groove when fitting the wall panels into trims for a tight fit.
- Dry-fit the wall panel onto the wall to ensure a good fit, then remove it and set it aside.
- Apply a generous amount of adhesive to the wall.
- Fit the wall panel to the wall and apply pressure to smooth out air pockets.
- Repeat the process for each panel to be fitted.
- Measure, mark, and cut the end cap trim to the desired height of the wall panel.
- Apply adhesive to the back of the end cap trim and fit it into place.
- Seal any gaps around fixtures or fittings with silicone.
Following these 12 steps, you can successfully install shower wall panels with a professional finish. For more detailed instructions, visit our blog post, ‘How to Install Shower Wall Panels‘ or our Wet Wall Panel Installation Guide.
Common pitfalls to avoid during the installation process
As you might’ve guessed, there are some mistakes you can make when installing our shower walling. To ensure a successful installation, there are a few pitfalls to be aware of:
- Failing to prep the wall surface before installation. Make sure to clean and sand any imperfections on the wall before glueing on the panels.
- Failure to accurately measure or mark the wall panels. Double-check measurements and use a spirit level to ensure accuracy when marking them for cutting.
- Inadequate adhesive application. A thick bead of panel adhesive should be used when attaching the wet wall panel to the wall.
- Forgetting to seal any gaps, joints, or edges with silicone. Sealing these areas will help protect the walling from water damage and other issues.
- Using incorrect tools or not following manufacturer instructions. Ensure that the correct tools are used and that all instructions are followed to ensure a successful installation.
By avoiding these common pitfalls, you can achieve a reliable, professional finish when installing shower wall panels. With the right preparation,
Conclusion
In conclusion, shower walling effectively creates a modern and contemporary look in any bathroom. With the proper preparation and tools, you can install our shower panels for a professional finish. To learn more about installing our shower panels, check out our Installation Guide.
We hope this article has given you the confidence and resources to start your shower walling project! Don’t forget that experimentation is key; the possibilities are truly endless once you start playing around with different panels, trims, and fixtures. Good luck!