How to Install Waterproof Shower Wall Panels: A DIY Guide
Are you looking for an easier, quicker way to install your shower wall? If so, then look no further! Waterproof shower wall panels from Wet Wall Works are the perfect solution. I’m here to tell you all about them and how easy it is to install them.
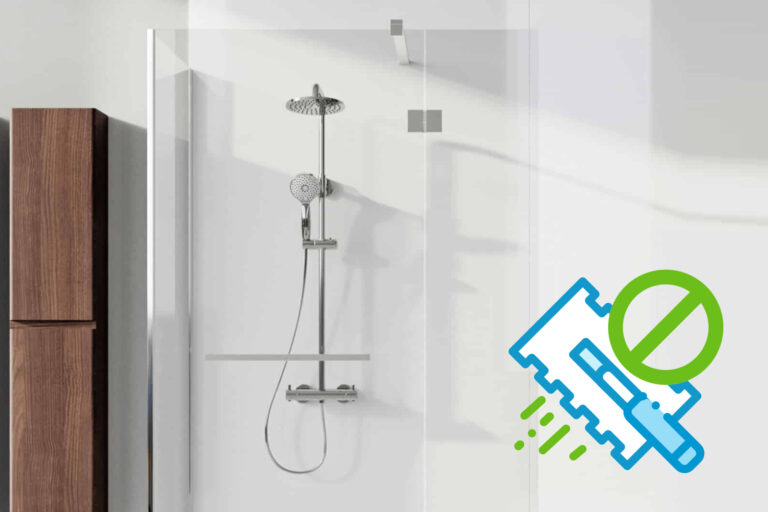
Tiling shower walls can be a difficult and time-consuming task, but not anymore with these fantastic panels! Installing shower wall panels is much simpler than traditional tiling methods, as they don’t require grouting or any other special tools. Plus, they can easily be installed over existing tiles, making the process even more straightforward.
In this article, we’ll take a look at what’s needed in terms of materials and tools before getting started on installation – so let’s get going!
Ready to Transform your Bathroom?
Discover the perfect wet wall panels for your bathroom renovation at Wet Wall Works. Shop now to explore our wide range of designs!
Tools and Materials for Fitting Shower Wall Panels
When it comes to installing waterproof shower wall panels, the right tools and materials are essential. Here is what you need to get started:
- Wet Wall Works’ 2 Panel DIY Shower Kit – This kit includes everything needed for a 2 panel installation, including the panels themselves, trims and sealant.
- Fine Tooth Hand Saw – This saw is used to cut the panels to size.
- Measuring Tape – Measure twice and cut once! Make sure you measure accurately before cutting the panels.
- Pencil – Use this to mark where the cuts need to be made on the panels.
- Safety Glasses – Always wear safety glasses when cutting the panels or trim to reduce the risk of injury.
- Silicone Gun – This gun is used to apply sealant and frame the panels once they are installed.
- Stanley Knife – A sharp knife is necessary for trimming any excess or cut-out sections of the panel.
- Spirit Level – This tool is used to make sure that the panels are level before sealing them in place.
- Safety Gloves – Wear gloves when working with sharp tools or materials to protect your hands from any potential cuts and scrapes.
Now that you have all the correct tools and materials, you can begin the installation process.
Pre-Installation Preparation
Pre-Installation Preparation is one of the most important steps in installing waterproof shower wall panels. Before you begin the installation, it is essential to measure the area accurately, prepare the wall and dry-fit the panels.
- Measuring Accurately – Measure the area to be panelled twice before you begin installation to ensure accuracy. It is crucial to get accurate measurements for everything to fit correctly and look as it should once completed.
- Preparing the Wall Surface – Prepare the wall surface to ensure it is clean, flat and even. If there are any bumps or uneven patches on the wall, these should be smoothed out before installation begins.
- Dry Fitting – Dry fitting is essential when installing shower wall panels, as it allows you to check the fit of each panel before applying adhesive and sealant. This will ensure that all the panels fit together correctly and look as they should when finished.
Now that you have everything prepared, you are ready to begin the installation.
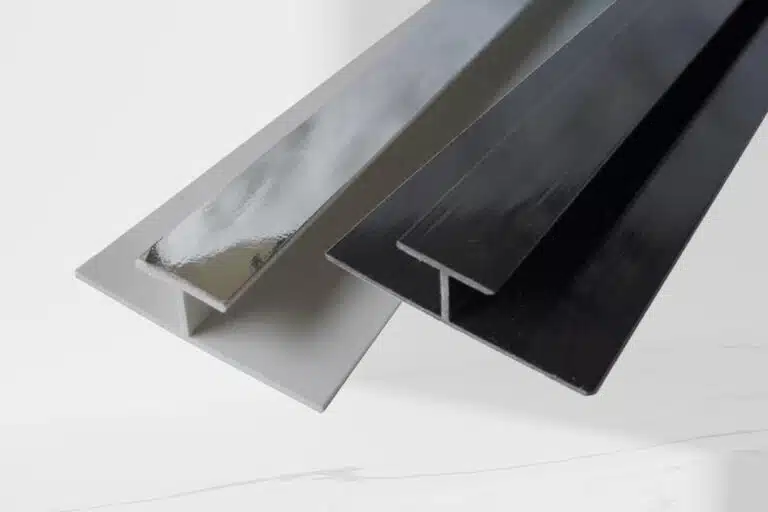
Installing Internal Corner Trim
Installing internal corner trim is an important step in the process of installing waterproof shower wall panels. Here are the steps to follow:
- Cut the internal corner trim to the desired panel height using a fine tooth hand saw. Measure and mark the trim first to ensure accuracy.
- Place the internal corner trim on a level surface and apply adhesive to the outer edges of the trim.
- Position the internal corner trim on the wall and apply pressure to achieve a firm fixing.
Note: Internal trims have an 18mm void; therefore, when fitting panels to an internal corner, the panel will need to be cut accordingly.
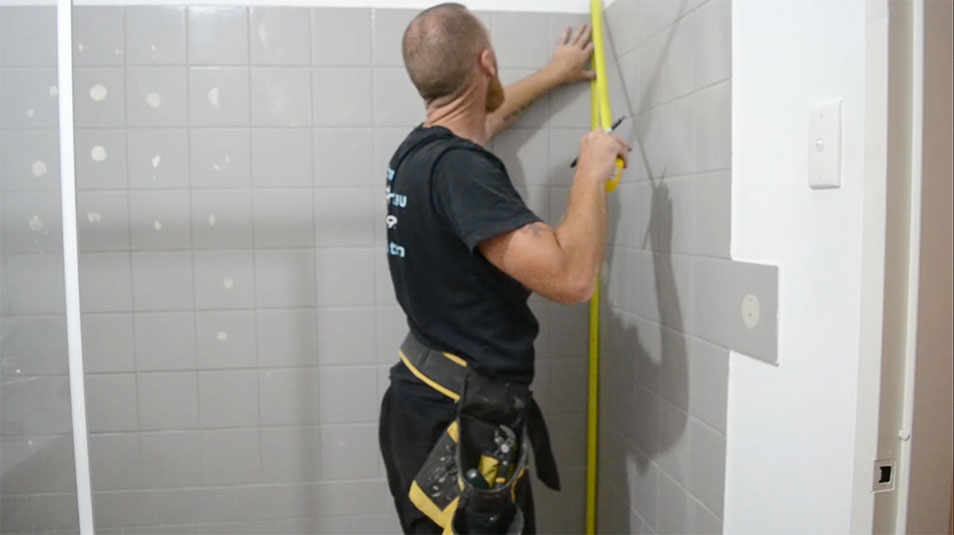
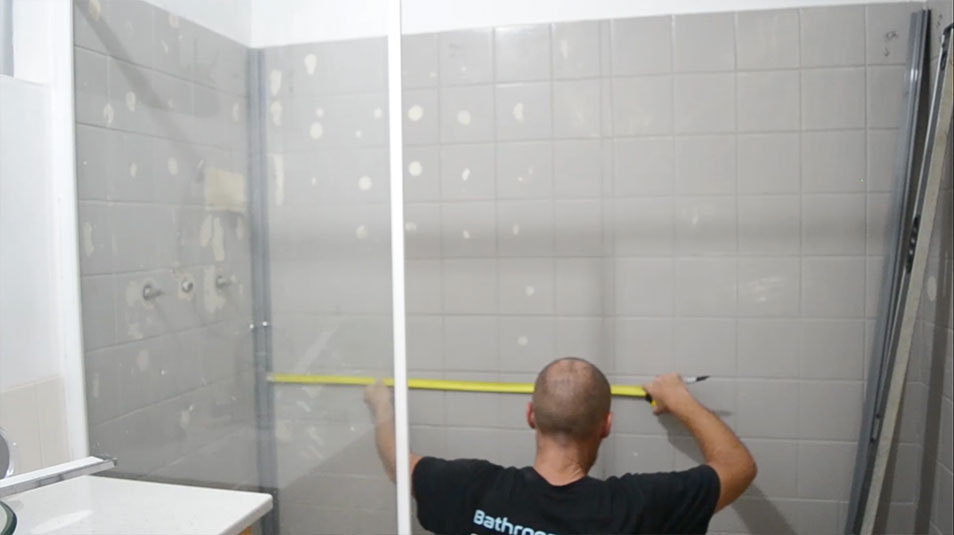
Marking and Cutting the Wall Panels
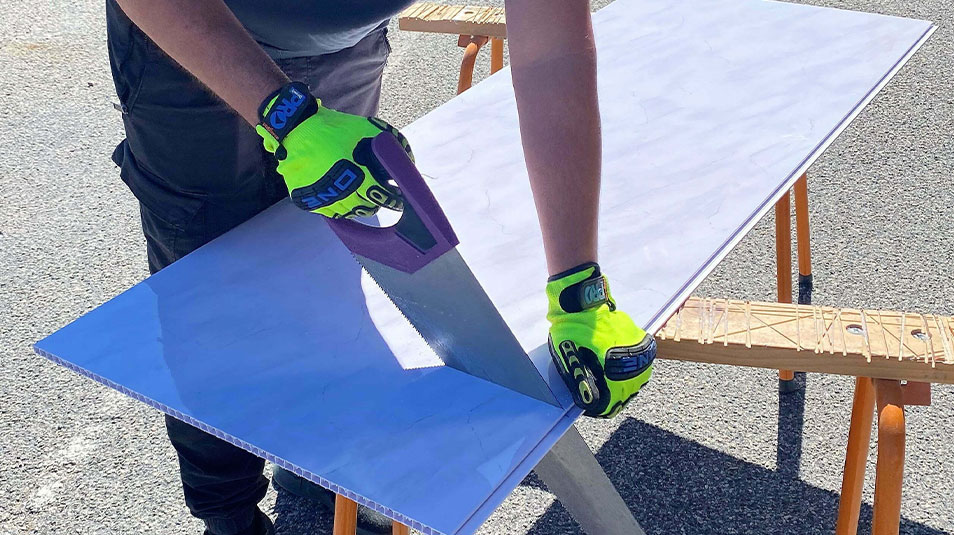
Marking and cutting the wall panels is another crucial step in the installation process. Follow these steps for a successful installation:
- Using a tape measure, measure the top, middle, and bottom of the wall the panel is being fitted to.
- Transfer these measurements to the panel by running a pencil line down the non-decorative face of the panel using a pencil and a spirit level.
- With a fine tooth saw, carefully cut through the panel following the line marked.
- Cut off the tongue or groove to ensure a tight fit when fitting the wall panels into trims.
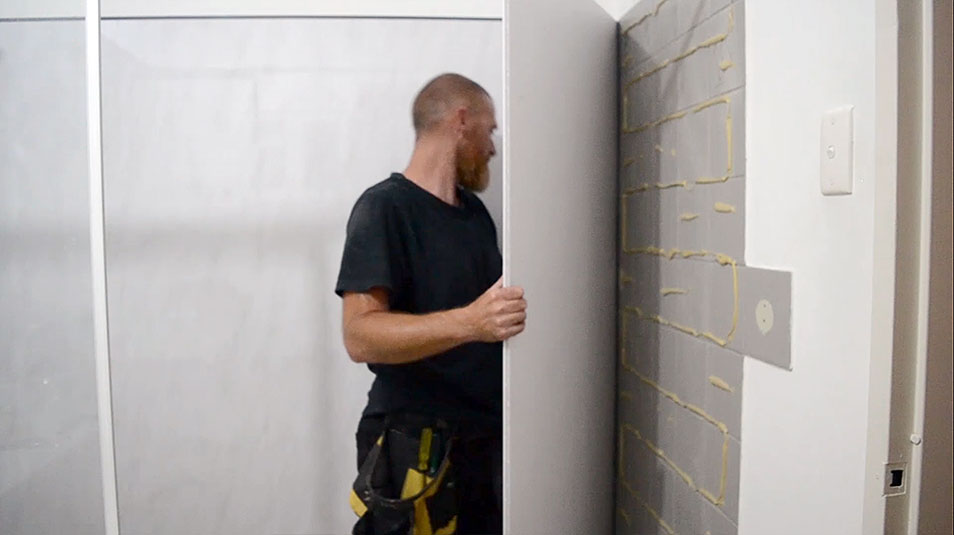
Installing Wall Panels
Installing wall panels is a straightforward process. Follow these steps:
- Apply a good amount of the Wall Panel Adhesive to the wall. I recommend you use 1.5 tubes of adhesive per wall panel.
- Fit the wall panel to the wall and apply even pressure to smooth out all air pockets.
Repeat this process for each panel.
Installing End Cap Trim
Installing end cap trim will give a finished look to the installation. Follow these steps:
- Measure, mark, and then cut the end cap trim to the desired height of the wall panel using a fine-tooth saw.
- Apply adhesive to the back of the trim and fit it into place. The end cap trim should slot directly behind the panels.
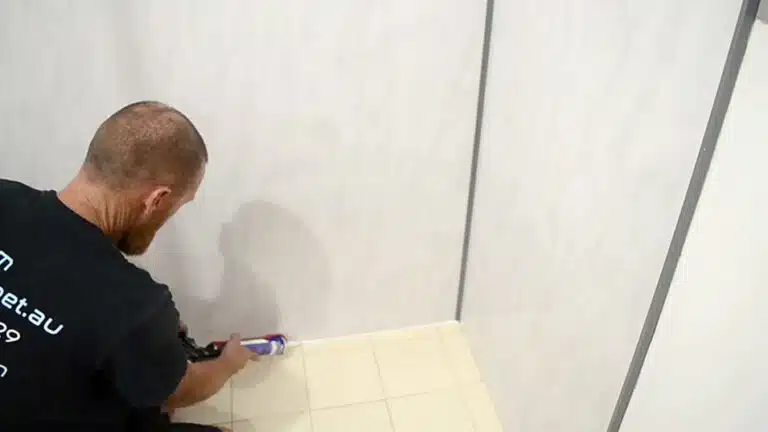
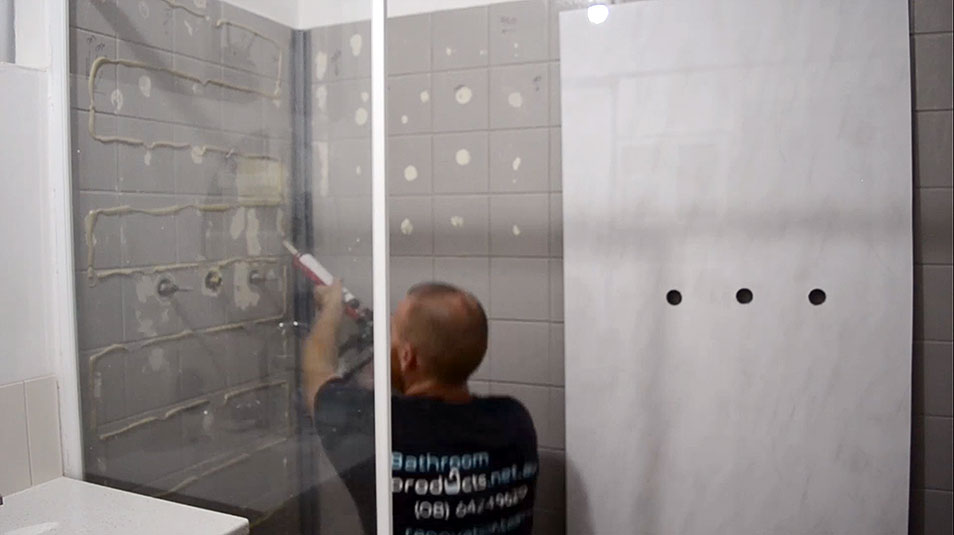
Sealing Gaps with Silicone
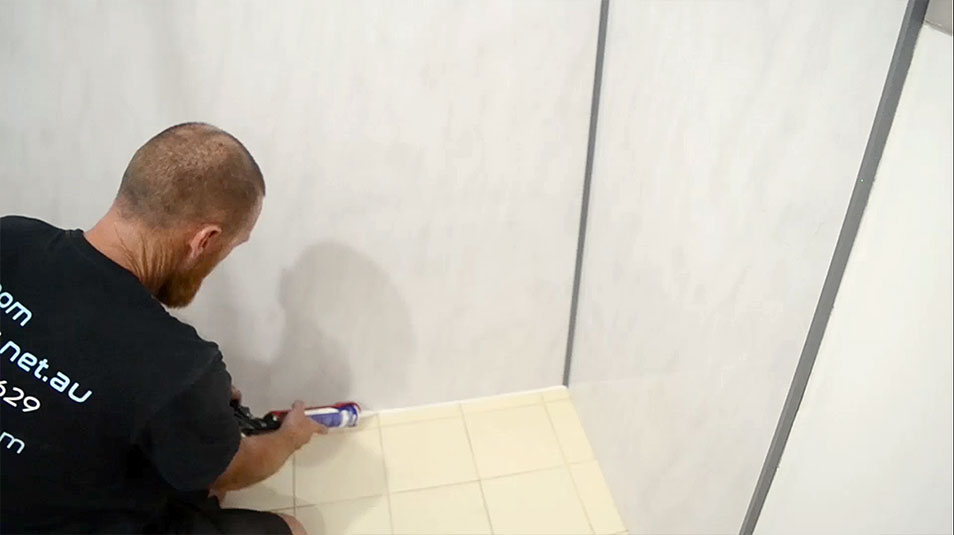
Sealing gaps with silicone is necessary to prevent water from seeping behind the panels. Follow these steps:
- Silicone any gaps around any fixtures or fittings as required.
- Leave to dry as per the manufacturer’s instructions.
There you have it-it’s as simple as that! You have now successfully completed the installation process for your waterproof shower wall panels.
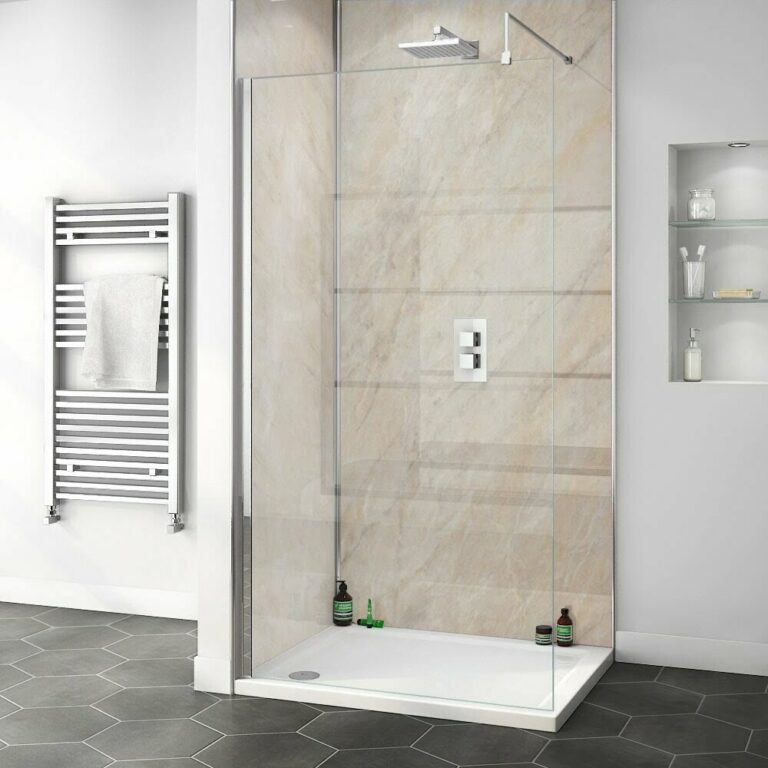
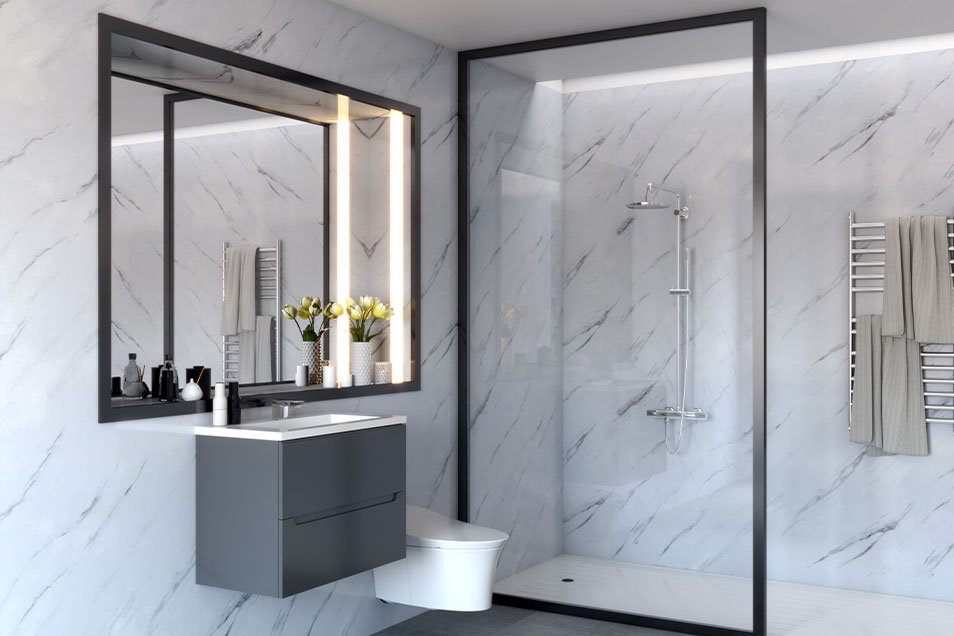
Wet Wall Works’ Shower Wall Panels
If you’re looking for waterproof shower wall panels in Perth or across Australia, Wet Wall Works is the team to turn to. Our range of shower wall panels is available in many styles and finishes to suit any home or budget. We offer everything from sparkly stone-look panels to sleek marble-look panels, so you can find the perfect fit for your bathroom, whatever your design style.
Our 2 Panel DIY Shower Kits are ideal for corner showers, while our 3 Panel DIY Shower Kits are designed for alcove showers with three walls. Whether you’re looking to install your panels yourself or require professional installation, we have the perfect solution for you.
Our shower wall panels are of the highest quality and have a 10-year warranty. Plus, our shower panels are designed to be easy to install and maintain, so you can have peace of mind knowing that your bathroom will look great for years to come. So what’s not to love?
Visit our online store today to find the perfect shower wall panel for your bathroom.
Conclusion
Installing shower wall panels is relatively easy for anyone with basic DIY skills. The key to success lies in measuring and preparing the area accurately, dry-fitting each panel before installation and adhering to any instructions provided by the manufacturer.
Following these steps and using the correct tools will make your walls look perfect in no time! Proper care and maintenance of your shower wall panels should ensure they last for years, giving you peace of mind knowing that you have invested in something beautiful yet durable.
If you have any questions about the installation process or maintenance of your shower wall panels, contact the Wet Wall Works team. We’ll be more than happy to help.