Pro Tips for a Flawless Wet Wall Panel Installation: Avoiding Common Pitfalls
Are you considering a bathroom renovation and intrigued by the rising popularity of wet wall panels in Australia? You’re not alone. More and more homeowners are discovering the benefits of these stylish and practical alternatives to traditional tiles. But installing wet wall panels can be tricky if you’re not armed with the right knowledge.
That’s where we come in. At Wet Wall Works, we’re dedicated to helping you achieve a flawless finish for your renovation project. This article will offer pro-level guidance and essential wet wall panel installation tips. So, whether you’re a DIY enthusiast or a professional renovator, read on to discover the secret to successfully installing wet wall panels.
Setting Up for Success: Proper Planning
Measure Twice, Cut Once
Before you even pick up a tool, the first step to a successful wet wall panel installation is proper planning. Accurate measurements are absolutely critical. Remember, it’s always better to measure twice and cut once. Take your time, double-check everything, and ensure you have the correct dimensions before you start cutting. This step is essential in avoiding unnecessary costs and time delays.
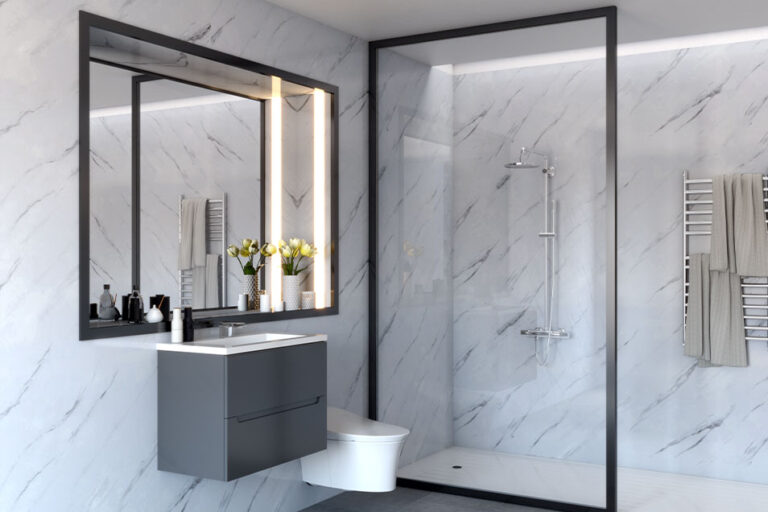
Ready to Transform your Bathroom?
Discover the perfect wet wall panels for your bathroom renovation at Wet Wall Works. Shop now to explore our wide range of designs!
Get Your Tools Sorted
Having the right tools on hand can make all the difference when installing wet wall panels. A few essentials include a fine-tooth hand saw for cutting the panels, a silicone gun for applying sealant, and a spirit level for aligning the panels. With these tools at your disposal, you’re setting yourself up for success from the get-go.
Common Pitfalls to Avoid
Misaligned Panels: The Eye-sore You Didn’t See Coming
One common mistake we see when installing wet wall panels is misalignment. This can ruin the aesthetic of your bathroom and may lead to water leakage. To avoid this, always use a spirit level during installation. Remember, precision here is key.
Ignoring Manufacturer’s Instructions: A Recipe for Disaster
Ignoring the manufacturer’s instructions is a surefire way to run into problems. We provide installation guidelines for a reason: they help you install the panels correctly and safely. Always read and follow them closely. It’s the best way to ensure a smooth installation and a durable, long-lasting finish.
Expert Tips for a Smooth Installation
Gluing and Sealing: Don’t Skimp on the Essentials
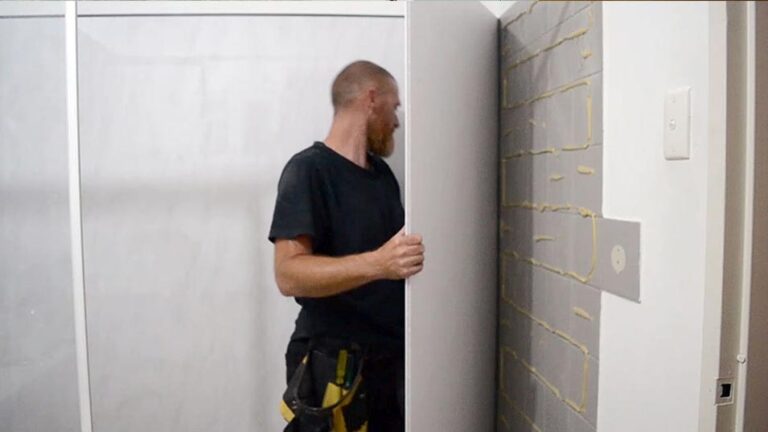
When it comes to glueing and sealing, don’t skimp on the essentials. Applying adhesive evenly across the panel ensures a secure fit, while a good-quality sealant prevents water from seeping behind the panels. Remember, a little extra time spent on these steps can make a big difference in the longevity and appearance of your bathroom.
Be sure to watch our video below to see how much adhesive you should apply. You’re sure to pick up some other helpful wet wall panel installation tips too.

The Right Cut: Making Adjustments
Getting the right cut for your wet wall panels is crucial. This not only ensures a snug fit but also contributes to a seamless finish. It’s about more than just measuring twice and cutting once. You’ll need to account for corners, outlets and any other unique features in your space. Remember, precision is key when it comes to installing wet wall panels, and a little extra time spent here can save you a lot of hassle later on.
Pro Hack: Time-Saving Techniques
Looking for some time-saving techniques? Pre-cutting your panels and using a template can drastically reduce your installation time. With pre-cutting, you’ll have all your pieces ready to go before you even start the installation process. And with a template, you’ll ensure each cut is consistent, helping to avoid any misalignment issues. These simple hacks can make your wet wall panel installation quicker and smoother.
Wrapping it Up: Achieving a Professional Finish
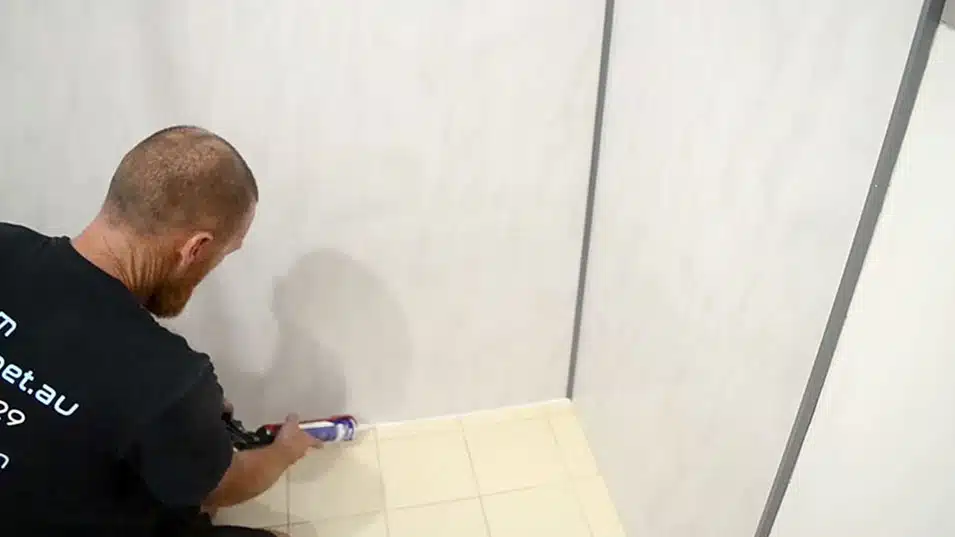
Caulking and Clean-Up
A professional finish doesn’t stop at the installation. Proper caulking and clean-up are essential for achieving that sleek, polished look. Use one of our silicone sealants around the edges of your panels to prevent water leakage. And don’t forget to clean up any excess adhesive or sealant immediately; it’s much easier to remove when it’s wet.
Post-Installation Care
To keep your wet wall panels looking their best for years to come, proper post-installation care is key. Regular cleaning with a non-abrasive cleaner will help maintain the panels’ shine, while avoiding harsh chemicals can prevent surface damage. Remember, a little care goes a long way towards preserving your beautiful new bathroom.
Conclusion
Installing wet wall panels doesn’t have to be daunting. By avoiding common pitfalls and following our expert wet wall panel installation tips, you can achieve a flawless, professional-quality finish. So why not give it a go? With Wet Wall Works, you’re not just buying wet wall panels; you’re investing in a stylish, practical solution for your bathroom renovation.
As the leading supplier of wet wall panels in Brisbane/Gold Coast, Melbourne, Sydney, and Perth, we’re here to help you every step of the way. From planning and preparation to installation and aftercare, our team of experts is always on hand to offer advice and support. So, why wait? Start your bathroom renovation today with Wet Wall Works and experience the difference for yourself!